Receivers are by no means simple-to-use devices. You may easily get lost as you try to figure out what specifications and connection options you need. Among these features, the “pre-out” might be particularly perplexing.
As you venture out to find the optimal AV receiver for your needs, you may question the purpose of a pre-out and the most optimal way to use it. So, I am here to explain what is a pre-out on an AV receiver and give insights on when to consider incorporating it into your setup.
What are pre-outs?
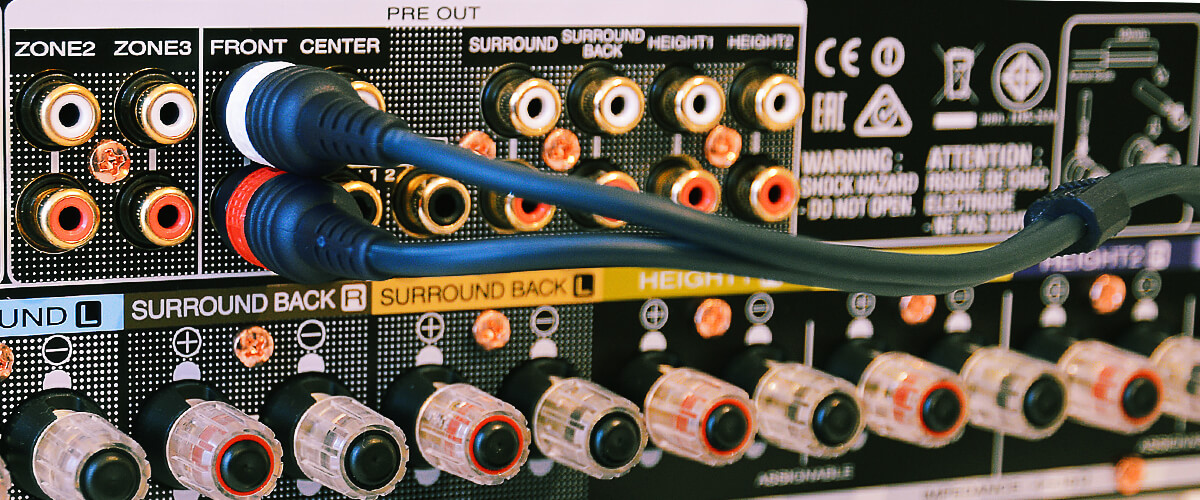
Pre-outs, short for preamplifier outputs, are a feature found on some receivers. These outputs allow you to bypass the receiver’s built-in amplification and send unamplified audio signals to external power amplifiers. In other words, they enable you to connect an external amplifier to your receiver to power your speakers and achieve better sound quality.
How do pre-outs work?
As you know, the primary role of a receiver is to process audio signals before delivering them to your speakers. Essentially, the receiver processes the audio signal but doesn’t amplify it. However, it’s a different story for an AV receiver with pre-outs.
The receiver sends a raw signal to the external amplifier through the pre-outs. The external amplifier then boosts the signal, providing the power needed for your speakers. This way, you enhance your audio system’s performance without replacing the receiver.
Types of pre-outs
You may encounter two main types of pre-outs — dedicated and multichannel pre-outs.
Dedicated pre-outs are designed for specific channels or speaker setups, such as front left and right, center, or surround speakers. They enable you to connect an external amplifier only to the channels you want to enhance.
Multichannel pre-outs cater to more complex home theater setups, providing outputs for all channels in a surround sound system. They allow you to use an external amplifier for every speaker in your setup, resulting in a more comprehensive audio upgrade.
Pros and cons of pre-outs
As you consider getting a receiver with preamp outputs, remember that this has pros and cons.
On the positive side, pre-outs provide flexibility, allowing you to enhance your system’s amplification without needing to replace your receiver. Additionally, external amplifiers connected via pre-outs deliver better power and sound quality compared to built-in amplifiers. Furthermore, pre-outs enable customization of your audio system, giving you the freedom to select specific amplifiers for individual channels or speakers.
However, there are some drawbacks as well. The use of an external amplifier can lead to increased overall expenses, as it adds another piece of equipment to your audio setup. Moreover, this solution often requires additional space and proper ventilation, which could complicate the layout of your audio setup.
When to use an external amplifier with your AV receiver?
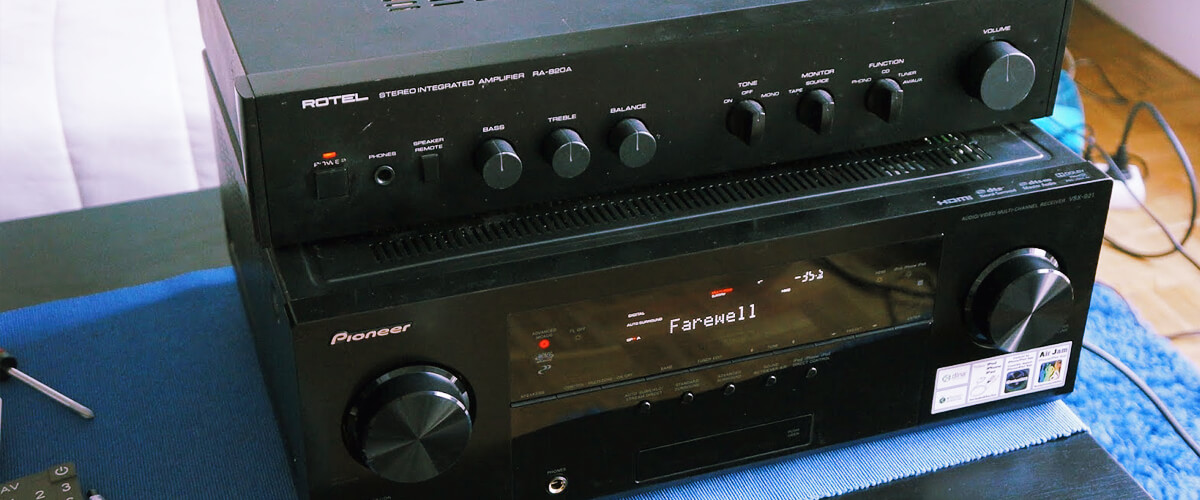
Let’s explore some scenarios where incorporating an external amplifier might be beneficial for your audio setup.
If you have speakers that demand more power than your AV receiver can supply, an external amplifier can help provide the necessary wattage to drive them.
Also, in multi-room audio setups, an external amplifier can help distribute audio to different zones more efficiently. In addition to that, if you’re planning to add more speakers or channels to your system, this may require additional amplification. An external amplifier will provide the extra power needed for your expanded setup.
Finally, in case you want to bi-amp or bi-wire your speakers for improved audio performance, an external amplifier can facilitate this.
How to connect an external amplifier to your AV receiver?
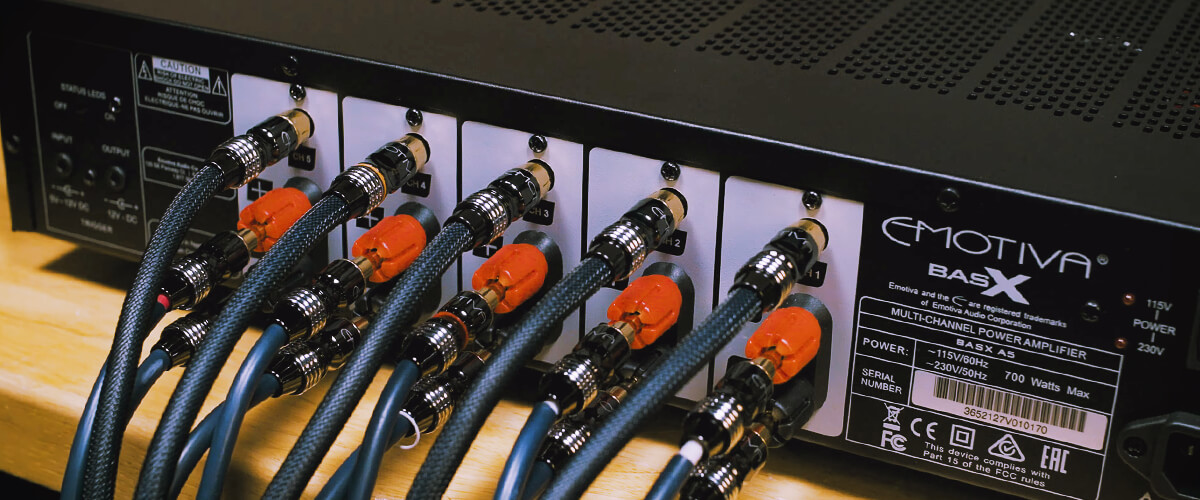
Common connection types
There are two primary connection types you’ll encounter when connecting an external amplifier to your AV receiver.
RCA cables are the most common type of connection used for pre-outs. They consist of a red and white plug on each end, transmitting analog audio signals from your receiver to the external amplifier.
Some high-end AV receivers and external amplifiers feature balanced XLR connections for pre-outs. These cables offer better noise rejection and signal integrity over long distances compared to RCA cables. However, both the receiver and amplifier must support XLR connections to use them.
Steps for connecting pre-outs to an external amplifier
Connecting an external amplifier to your AV receiver is a straightforward process. So, I recommend following these steps to get things done the right way.
- Turn off and unplug both devices to ensure safety during the connection process.
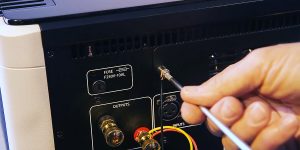
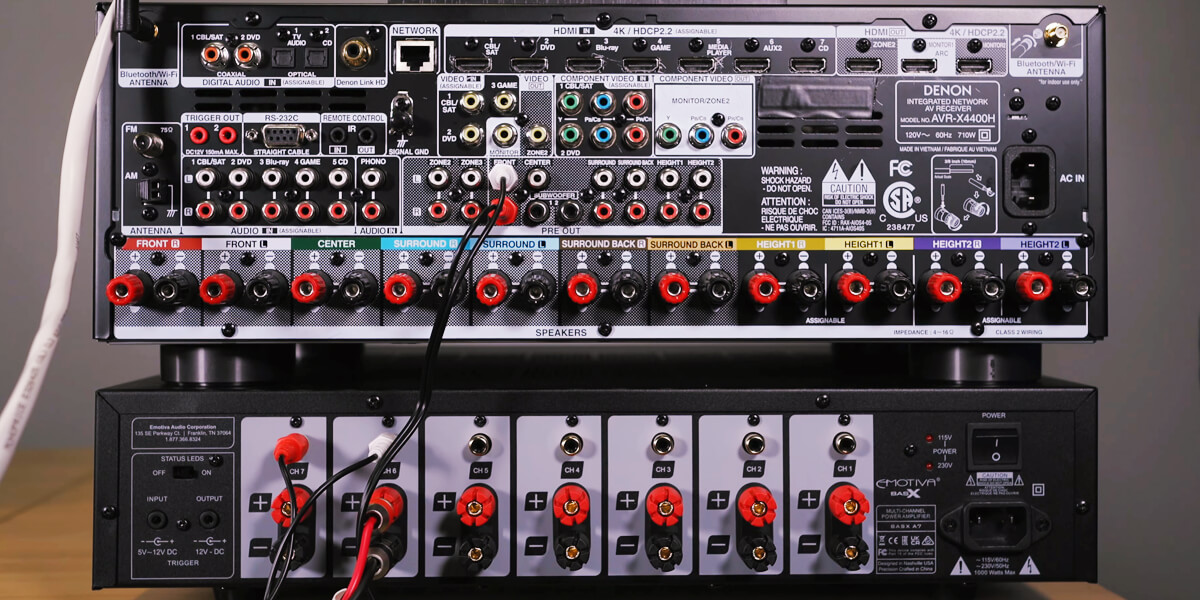
- Locate the pre-outs on the back panel of your receiver. These outputs are typically labeled as “Pre-Out” and may be dedicated to specific channels or speakers, such as front left and right, center, or surround.
- Choose the appropriate connection type (RCA or XLR) based on the available outputs on your AV receiver and inputs on your amplifier.
- Connect one end of the chosen cable to the corresponding pre-out on your receiver and the other end to the matching input on your amp. Make sure to match the colors and labels on the cables and connections (e.g., left channel to left input, right channel to right input).
- If your external amplifier has input level controls, adjust them according to the manufacturer’s recommendations or your personal preferences.
- Reconnect the power cords to both units, then turn them on.
- Test your audio setup to ensure proper signal flow and audio performance. Adjust settings on your devices if necessary.
Things to consider when choosing an external amplifier for an AV receiver
Power output
When selecting an external amplifier, ensure its power output is suitable for driving your speakers. Match the impedance of your speakers with that of the amplifier to guarantee optimal performance and avoid potential damage to your audio equipment.
Number of channels
Choose an amplifier with a channel count that aligns with your speaker setup. For instance, a 5.1 system necessitates a 5-channel amplifier. This ensures that each speaker in your configuration receives the required amplification.
Compatibility
Verify the compatibility of the amplifier with your receiver by checking the type of connection needed, such as RCA or XLR. This will help you avoid issues related to connectivity and signal quality.
Brand
Opting for an amplifier from the same brand as your receiver can enhance compatibility and streamline the integration process. However, this is not a strict requirement, as many amplifiers work well across different brands.
Budget
Amplifiers vary significantly in price, so consider your budget before making a purchase. Determine your spending limits and search for an amplifier that offers the best value within your price range.
Sound quality
Aim for an amplifier that delivers the sound quality you desire. To make an informed decision, consider reading reviews and listening to demonstrations, as these can offer valuable insights into an amplifier’s performance.
Features
When selecting an amplifier, consider its additional features, such as built-in DACs or EQ settings, in relation to the function of the pre-out port in an AV receiver. Evaluate whether your setup will benefit from them and whether they justify any potential increase in cost.
Common mistakes to avoid when connecting an external amplifier to an AV receiver
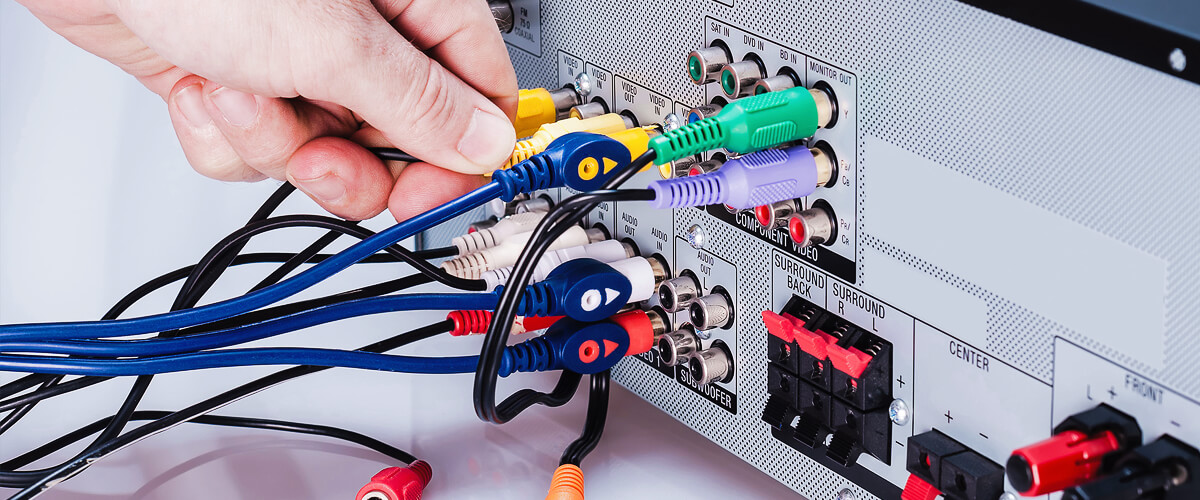
In my years of experience with receivers and external amplifiers, I’ve encountered several common mistakes people tend to make when connecting two devices.
Mismatching impedance
One of the most frequent mistakes I’ve seen is mismatching the impedance between speakers and amplifiers. This can lead to poor audio performance and even damage your equipment. Always make sure to check the impedance ratings of both your speakers and amplifier to ensure compatibility.
Inadequate cable quality
Using low-quality cables can significantly impact audio quality. Investing in good-quality RCA or XLR cables will make a noticeable difference in signal integrity and overall audio performance. Don’t skimp on cables, as they may be game-changers in delivering high-quality sound.
Ignoring input sensitivity
Some people overlook input sensitivity settings on their amplifiers. Adjusting these settings according to the manufacturer’s recommendations or your preferences can help optimize audio performance and prevent distortion.
Failing to power off devices
In the past, I’ve been guilty of forgetting to power off and unplug devices before making connections. This oversight can be dangerous and potentially damage your equipment. Always ensure both your receiver and external amplifier are switched off and unplugged before connecting them.
Overlooking grounding issues
In my experience, I’ve encountered situations where grounding issues led to hum or buzzing. Before connecting your external amplifier to the receiver, check for potential grounding problems. By addressing these issues early on, you ensure a cleaner and more enjoyable audio experience.

![Best 2-Channel Receiver [Expert Reviews and Buying Guide]](https://hometheaterology.com/wp-content/uploads/2023/11/best-2-channel-receiver-stereo-300x150.jpg)
