As a passionate audiophile, I’m always on the lookout for ways to elevate my home listening experience. One surefire way to achieve that is to connect a turntable to the AV receiver, seamlessly integrating the warmth of vinyl records into a modern home theater system. For music enthusiasts, this marriage of old and new technology opens up a world of sonic possibilities.
In this article, I’ll guide you through the process of integrating your LP player with an AV receiver, ensuring that your vinyl playback experience is nothing short of spectacular. So, let’s get started on this exciting journey and rediscover the joy of analog audio!
Connecting turntables to AV receivers

Hooking up the turntable to the AV receiver is a straightforward process; however, you must know connection types and their interactions. Here are my easy-to-follow recommendations that will help you make the proper connections:
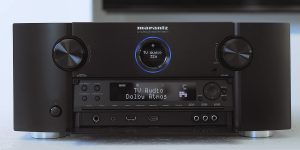
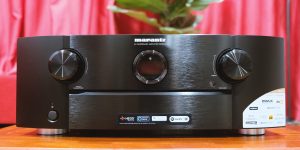
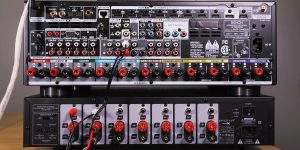
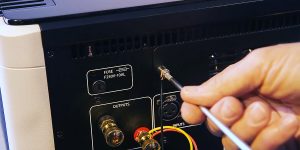
- Determine the connection types on your turntable and AV receiver: The majority of TTs have RCA outputs, and some may feature an integrated preamp. Your AV receiver will either possess a dedicated phono input or an RCA input (sometimes marked as “AUX” or “CD”).
- Link the player to the receiver: If your player has an integrated preamp and your receiver has an RCA input, just connect the turntable’s RCA output to the AV receiver’s RCA input using a stereo cable. If your table lacks a phono stage and the receiver has a phono input, connect the former’s RCA output to the latter’s phono input.
- Attach the ground wire (if necessary): Some players include a separate ground wire that aids in reducing hum and noise. If your turntable features a ground wire, attach it to the ground terminal on the AV receiver, typically located close to the phono input.
- Power up your equipment and check the connection: Turn on your TT and receiver. Set the receiver’s input selector to the appropriate input (either “Phono” or the RCA), and initiate playing a record. You should hear the music emanating from the speakers.
If you have connected devices following my recommendations but no sound is playing, pay attention to the following aspects. Firstly, revisit all contacts to make sure they are snug and properly positioned in the right inputs. Secondly, take a moment to inspect the turntable’s stylus, confirming its integrity and correct placement. Finally, check the receiver’s volume and input settings for accuracy.
Now, everything should be fine – enjoy cozy, analog sound flowing through your home theater system!
Setting up a turntable and adjusting the sound

To get the most out of your home theater setup, it’s essential to fine-tune the sound quality when using a TT with an AV receiver. Whether you’re hooking up your record player to a soundbar or a full-blown home theater system, there are a few things you must do to get the greatest possible sound:
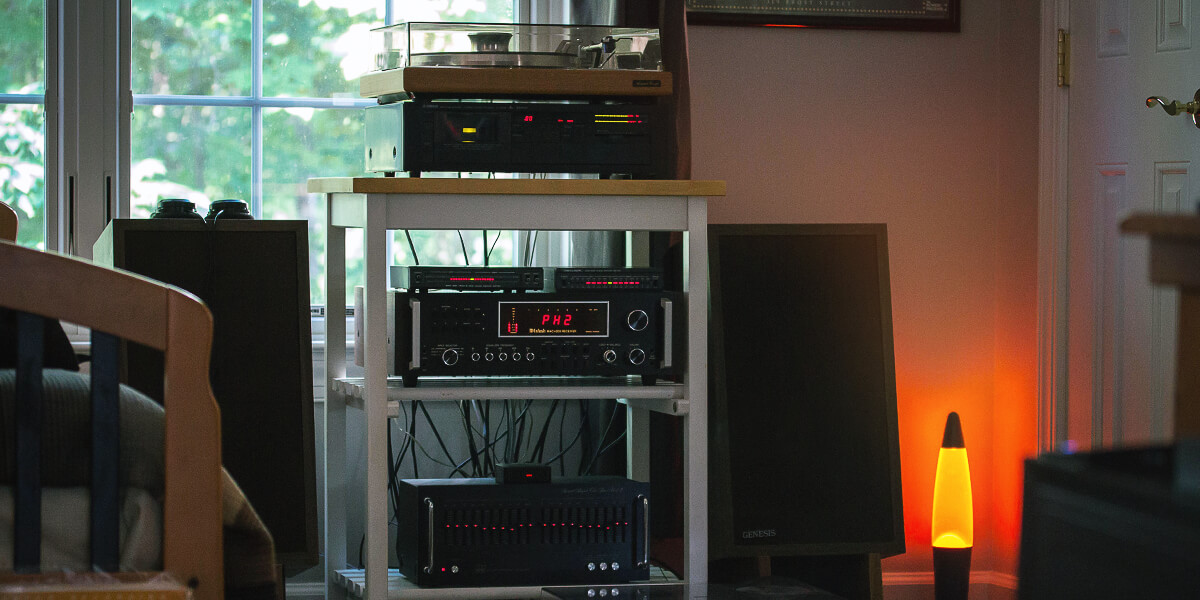
- Carefully position the turntable on a sturdy, level surface, away from any vibrations, speakers, or heat sources. Having a critical ear for audio quality, I’ve invested in a dedicated turntable stand to ensure smooth & accurate record playback.
- Consult the TT’s manual and make precise adjustments to the tonearm, tracking force, and anti-skating settings. This meticulous process prevents potential damage to your precious records and stylus while optimizing sound quality.
- With the help of an alignment protractor, verify that the cartridge is correctly positioned to achieve accurate groove tracking. It’ll result in detailed and clear sound reproduction.
- Explore the receiver’s settings and find a “Pure” mode that bypasses unnecessary audio processing, delivering an authentic analog sound.
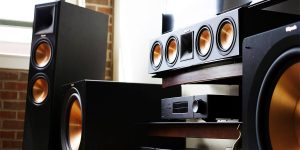
- Correctly position the speakers and make sure they are at the correct height and distance from the listening area. For example, I often use room correction software to adjust the sound more accurately.
The effort you put into setting up the turntable and adjusting the sound will pay off, and you’ll finally be able to fully appreciate the magic of vinyl.
Practices for using turntables with AV receivers and home theater systems

When you connect a turntable to the home theater system, it’s essential to use it effectively and safely to preserve the longevity of your equipment and LPs.
To avoid potential issues, you should handle your vinyl records properly. Always hold them by the edges or label area, ensuring your fingertips do not touch the grooves. This practice helps prevent the transfer of oils, dust, and dirt onto the records, which could negatively affect the sound quality and cause unnecessary wear on the stylus.
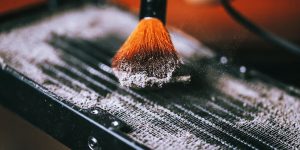
Regular maintenance of your turntable is equally important. Clean the stylus periodically with a special brush and cleaning solution. This step not only improves sound quality but also prolongs the life of the stylus and your records.
Additionally, be mindful of your volume levels when playing vinyl through your home theater system. Excessively loud volume can cause vibrations that may affect the turntable’s performance and potentially damage your vinyl.
Lastly, remember to switch off the turntable and AV receiver when not in use. This simple practice can prevent unnecessary wear on your equipment, conserve energy, and ensure a longer life for your devices.
Hopefully, my tips will help you organically combine the capabilities of the receiver and player to enjoy the warm, immersive sound of vinyl playback for years to come!
![Best 2-Channel Receiver [Expert Reviews and Buying Guide]](https://hometheaterology.com/wp-content/uploads/2023/11/best-2-channel-receiver-stereo-300x150.jpg)