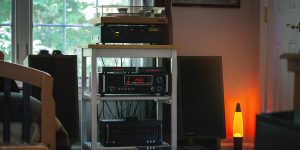
You’ve just set up your dream home theater system. You’re excited to dive into a cinematic adventure, only to be greeted by an unwelcome mix of hums and buzzes. Soon, you discover that a poorly grounded receiver is to blame.
Grounding an AV receiver at home is a non-negotiable thing, at least if you want to achieve a noise-free listening experience and prevent potential damage to your equipment. In this article, I’ll explain how to properly ground your device and tackle common types of hum and noise issues.
Types of grounding options

When it comes to setting a ground connection for your receiver, you can’t bypass getting familiar with the different options available. After all, that’s the only way to achieve that crystal-clear audio experience you desire. So, in this section, I’ll guide you through the various types of grounding options that will help lay a strong foundation for your AV device.
Chassis grounding
Chassis grounding is all about connecting the metal enclosure of your AV unit to the ground. Think of it as a shield that defends your system against external electromagnetic interference (EMI) and radio frequency interference (RFI). By grounding the chassis, you create a barrier that directs this interference away from the sensitive internal components, helping you maintain a clean signal.
Signal grounding
Signal grounding involves setting the ground point for the audio signal pathways within your receiver. This process is important because it ensures that all audio components share a common reference point. As a result, helping eliminate ground loops — a major cause of hum and noise. In addition, establishing a common ground for your signals minimizes the potential for voltage differences. That’s how you obtain a clear and consistent audio experience.
Electrical grounding
Electrical grounding is the practice of connecting your receiver’s power supply to the earth. This way, you create a safe pathway for excess electrical energy to flow. It’s good to know that this technique not only protects your equipment from voltage surges and lightning strikes but also helps reduce the risk of electrical shock. So, proper electrical grounding is necessary for both your receiver’s safety and the overall performance of your home theater system.
How to ground your AV receiver

Step-by-step guide for grounding the receiver
If you constantly get interrupted by a persistent hum or buzz from your speakers, it’s time to ground your audio equipment and regain control of your listening experience.
But if you’ve never done that before, this can be easier said than done. So, I’m here to walk you through the process of grounding your receiver step-by-step. Here is the drill:
- Safety first! Make sure your receiver is turned off and disconnected from the power source before you begin.
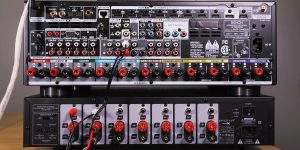
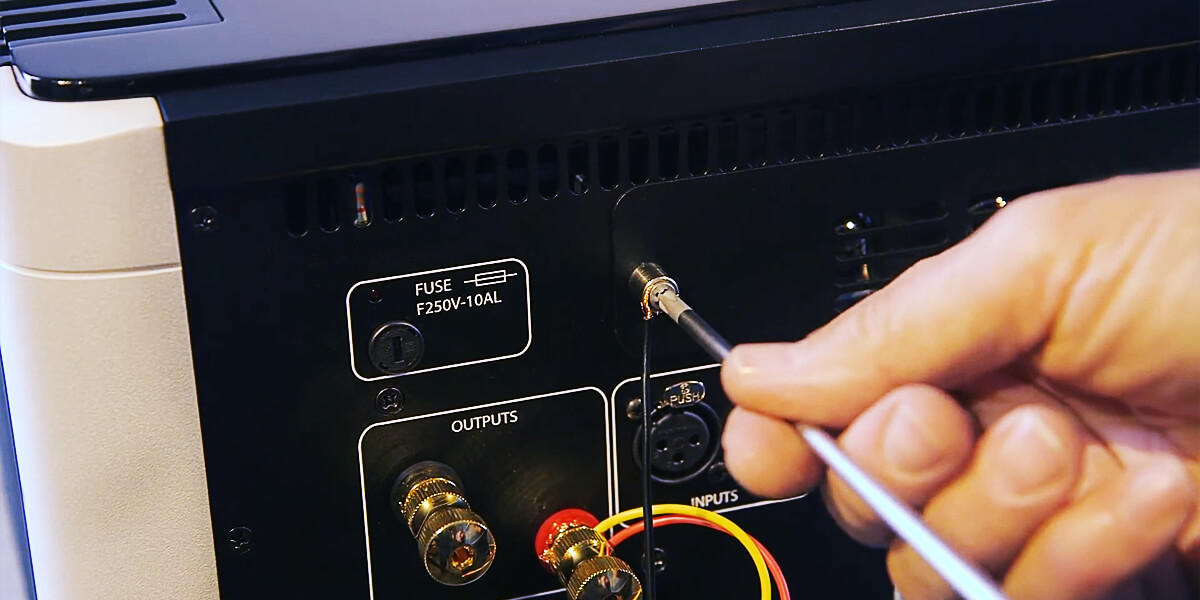
- On the back of your AV unit, find the grounding terminal, which is usually a screw or a small post marked “GND” or “Ground.”.
- Strip one end of a copper grounding wire, exposing about 1/2-inch of the bare wire.
- Attach the grounding wire to the receiver. Wrap the stripped end of the wire around the grounding terminal and secure it tightly using a screwdriver.
- Connect the other end of the grounding wire to a suitable ground point. This could be an electrical outlet’s ground pin, a grounded metal water pipe, or a dedicated grounding rod. Make sure the ground point you choose is properly grounded.
Tips for ensuring a safe and effective grounding connection
A well-grounded receiver not only protects your valuable equipment but also ensures the sound remains crisp and clear. Below, I share tips I find handy for the connection’s security.
- Use a thick, high-quality copper grounding wire to ensure a solid and reliable connection.
- Carefully check that the ground point you choose is securely grounded to avoid potential hazards or equipment damage.
- Regularly inspect the grounding wire and connections for signs of wear, corrosion, or damage.
- If you’re unsure about the process or the safety of your ground connection, consult a professional electrician for assistance.
Common mistakes to avoid
In their efforts to improve sound quality, beginners often make various mistakes. Even the smallest one can have a considerable impact on your sound quality and the overall health of your audio system. For example, you did everything right (at least, you assume so), and all you got were hums and buzzes that overshadowed your favorite tunes. Just the opposite effect of what you’ve expected. Or you started noticing sound dropouts during a movie climax. So, what could be the reason for those issues? Let’s see.
- Connecting the grounding wire to a non-grounded object or an unsuitable ground point.
- Using a thin or low-quality wire that may not provide a reliable ground connection.
- Not securing the grounding wire tightly enough results in a loose or unstable connection.
- Overlooking the importance of routine inspection and maintenance of your ground connections.
Troubleshooting common hum and noise issues

Despite our best efforts, sometimes hums and noise issues can persist in our audio systems even with a proper ground point. So, it’s better to be ready for any challenges that may arise and interfere with your listening experience. So, I’ll take a deep dive into the common problems that may happen even when the ground connection is fine. You’ll also get a roadmap to diagnose and resolve these issues.
Steps for identifying the source of the problem
Tackling hums and noises in your audio system starts with identifying the root cause. Here’s a simple, step-by-step approach to help you pinpoint the issue:
- Power off all devices in your audio system, including your AV receiver, speakers, and connected gadgets like gaming consoles or streaming devices.
- Turn on the receiver and then add one device at a time, listening for any hums or noises after each addition. This gradual process will help you determine if a specific component is causing the issue.
- Check all cables for signs of damage or wear. Try swapping them out with high-quality replacements if needed. Make sure all connections are securely plugged in, as loose connections can lead to sound problems.
- Power off potential sources of electromagnetic or radio frequency interference, such as Wi-Fi routers, computers, or smartphones, and see if the issue disappears. If it does, try repositioning or shielding the problematic device.
- Ensure your receiver’s ground connection is secure and connected to an appropriate ground point. Verify that all devices in the audio system share the same ground to prevent ground loops.
- If you suspect a specific device is causing the issue, try connecting it to a different input or output on your AV device. This may help you isolate the problem and identify any incompatibilities or malfunctioning equipment.
Common issues that can arise even with a good grounding and how to troubleshoot them
So, you double-checked everything, and your stereo receiver grounding seems to be fine. So, your next step should be to look at ground loops and cables. Also, check if electric devices or transmitters are around, as they may cause noise or distortion. Mind that sometimes, a piece of equipment in your audio chain may be incompatible with other components or might be malfunctioning, leading to problems with the sound.
But how do you tackle these issues? I’ve put together a chart. This should make diagnosing and resolving hum and noise problems in your audio system easier.
| Issue Type | Reason for an Issue | Troubleshooting Steps |
|---|---|---|
| Ground loops | Two or more devices connected to different ground points create an unwanted electrical loop | Ensure all devices in the audio system share the same ground point. Use a ground loop isolator, if required. |
| Electromagnetic interference | Nearby electronic devices (computers, smartphones, and Wi-Fi routers) emit electromagnetic radiation that interferes with the audio system | Move potential sources of interference away from the audio system. Use shielded cables and ferrite chokes if needed. |
| Radio frequency interference | Radio frequency signals from nearby transmitters (radio stations, cell towers, or even your neighbor’s baby monitor) infiltrating the audio system | Locate and eliminate nearby sources of radio frequency interference. Use shielded cables and ferrite chokes, if necessary. |
| Poor quality or damaged cables | Low-quality or damaged cables more susceptible to interference | Inspect cables for damage and replace them with high-quality, shielded cables. Ensure all connections are secure. |
| Incompatible or faulty equipment | A malfunctioning or incompatible device in the audio chain | Test each component individually and try different configurations to identify the problematic device. Replace or repair if needed. |
| Improper grounding | The receiver’s grounding connection is insecure, connected to an unsuitable ground point, or absent | Double-check the grounding connection of your AV receiver, and ensure it is secure and connected to a suitable ground point. |
Safety considerations

Safety always comes first. So, knowing how to prioritize safety and minimize potential risks will be quite useful.
- Before starting any work on your receiver or other components, turn off and unplug all devices to prevent electrical shock or damage to the equipment.
- When working with electrical connections, always use insulated tools to reduce the risk of shock.
- Rubber-soled shoes can provide an extra layer of insulation, helping to protect you from accidental shocks.
- Make sure your hands and the surrounding area are dry before working with electrical connections.
- Use a thick, high-quality copper grounding wire that is specifically designed for grounding purposes.


![Best 2-Channel Receiver [Expert Reviews and Buying Guide]](https://hometheaterology.com/wp-content/uploads/2023/11/best-2-channel-receiver-stereo-300x150.jpg)