Dolby Atmos is an innovative technology that has revolutionized surround sound in home systems, giving you a more immersive and realistic soundscape, enveloping you in sound as if you were in the center of the action. And the key to creating three-dimensional sound in your home theater is Dolby Atmos height speakers.
In my article, I’ll take a closer look at the types of these speakers and tell you everything you need to know about their use and placement because they are the key. They add height channels to a traditional 5.1 or 7.1 channel system, allowing you to hear sound from above and around the listener. Dolby Atmos height speakers can be in-ceiling, on-ceiling, and upward-firing, which reflect sound off the ceiling, creating the illusion of height, and we’ll start with an introduction to each.
Choosing the right Dolby Atmos height speakers

Choosing the right Dolby Atmos height channel speakers can be challenging because of several important factors. However, in my experience, it is very important to find a balance between these aspects to achieve optimal sound quality.
Factors to consider when selecting height speakers
Size: The physical size of a speaker can affect its power and frequency response. Larger speakers can usually handle more power and have a wider frequency response, resulting in a more dynamic and powerful sound. At the same time, smaller speakers are easier to place in different locations. So it all depends on your preference here.
Power: A speaker’s power rating determines how loud it can sound without distortion. Higher wattage ratings usually result in a louder, more dynamic sound. But it’s important to consider the size of your room. I’d rather choose speakers that aren’t the most powerful for smaller rooms.
Frequency Response: This factor refers to the range of frequencies the speaker can accurately reproduce. A wider frequency response is usually better because it allows the speakers to reproduce a more detailed and realistic sound across the entire spectrum.
Comparison of in-ceiling, on-ceiling, and upward-firing height speaker designs
I would also draw your attention to the right design, as it implies a change in your interior.
In-ceiling speakers provide a discreet and seamless look but can be tricky to install. They require a hole to be cut in the ceiling, and it’s important to ensure they are properly positioned for optimal sound quality. Nevertheless, these are a great option for those who want speakers that are not visible but still enjoy the exciting sound. In my experience, they can provide excellent sound quality and accurate height effects.
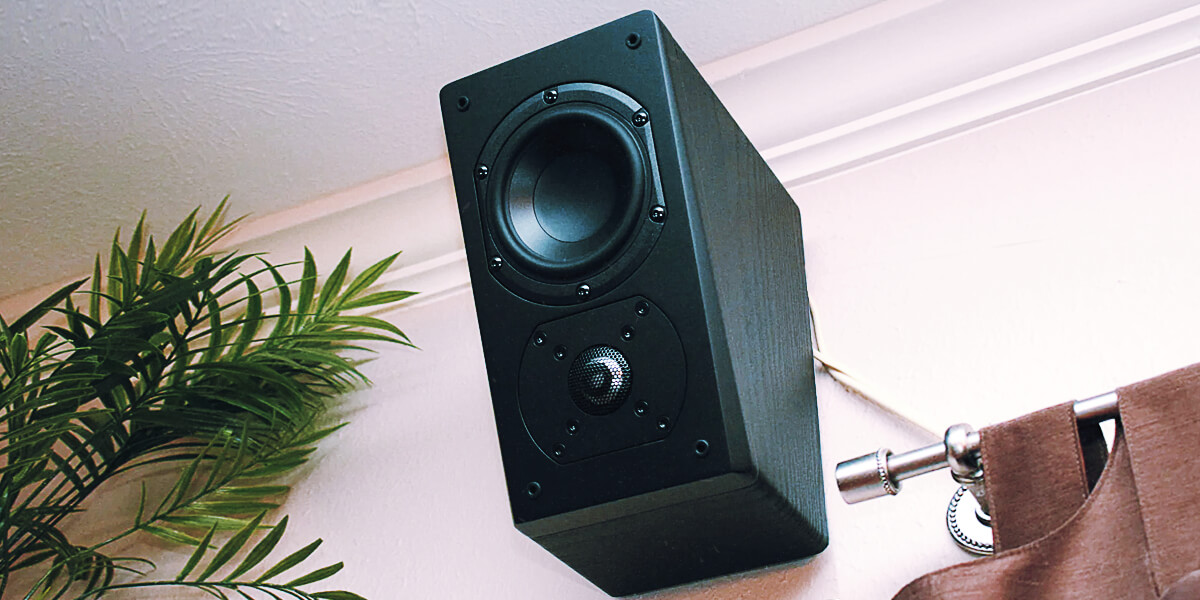
On-ceiling speakers provide more sound dispersion than in-ceiling speakers and are ideal for larger rooms. They’re easier to target for optimum sound and look more traditional. However, they may not be as discreet as in-ceiling speakers and may require more installation work.
Upward-firing speakers are economical and require no additional installation. You put them on top of your existing front or rear speakers, which reflect sound off the ceiling, creating the illusion of height. It’s an economical, effortless option, which makes them a popular choice for those who want to upgrade their system without the hassle. Or maybe you move often? Then there is a great option for you as well. However, remember that they may not be as powerful as in-ceiling or in-ceiling speakers and may not provide the same level of sound quality.
As you can see, each type of speakers has its pros and cons. But it’s important to remember that not all overhead speakers are created equal. Some are specifically designed for Dolby Atmos, while others may be more versatile in terms of compatibility with other systems. So spend some time, weigh the pros and cons, and choose the right speaker height for your particular installation and preferences in both design and sound.
Installing and configuring Dolby Atmos height speakers

So, you have chosen the right Dolby Atmos elevation speakers for your system. Now it is important to install and set them correctly. After all, in my experience, proper placement is the key to achieving better sound quality. So how to do it? Here are some tips on optimizing the placement, calibrating the speakers, and setting up your equipment (receiver or amplifier):
Tips for optimizing speaker placement
In-ceiling speakers: Ceiling speakers should be placed directly above the listening area, with each speaker pointed at an angle to the listener. It is important to avoid placing the speakers too close to walls or corners, as this can cause reflection and distortion of sound.
On-ceiling Speakers: Ceiling speakers should be placed over and slightly in front of the listening area, with each speaker pointing towards the listener. They should be equidistant from the listening area to ensure a balanced sound.
Upward-facing speakers: Front height speakers for Atmos should be placed above the left and right front speakers, and the rear speakers should be placed above the surround speakers at an angle to the ceiling. Ensuring sufficient distance between the speaker and the ceiling is important for proper sound reflection.
Calibration
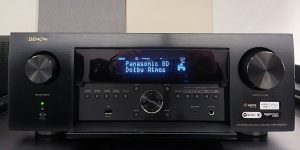
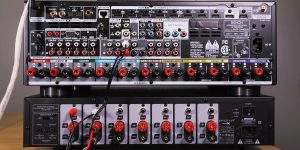
Calibrating your speakers to Dolby Atmos height is necessary for better sound quality. Therefore, ensure your receiver or amplifier is properly tuned for Dolby Atmos playback. Always study the manufacturer’s instructions for setting speaker distances, levels, and crossover frequencies. Also, I insist on using any built-in automatic receiver or amplifier calibration functions, as they often do a great and fast job and will save you trouble. I often use a test tone generator to check each speaker’s phase and frequency response.
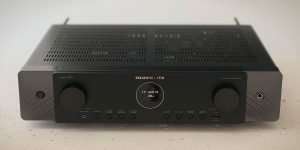
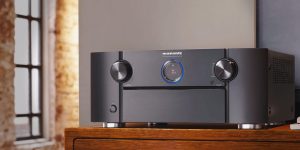
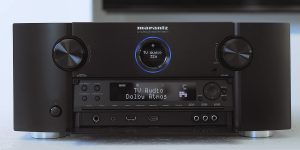
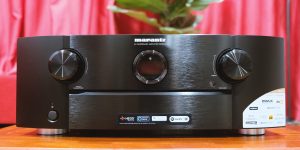
Overview of receiver and amplifier settings for Dolby Atmos height speakers
To optimize the Dolby Atmos high-end speaker system, I perform the following steps when setting up an AV receiver or amplifier:
- Adjust the speaker placement (for example, 5.1.2 or 7.1.4).
- Set the size of the speakers as “large” or “small,” depending on their capabilities.
- Adjust the crossover frequency, usually around 80 Hz.
- Inputting speaker distances and levels, either manually or with auto-calibration.
- Turning on the “Dolby Atmos Enabled” setting when using upward-facing speakers.
- Adjust the proper bass control by redirecting the bass to the subwoofer (ensure the receiver is set to decode Dolby Atmos content).
By doing these simple manipulations, you’ll create an immersive sound experience for any Dolby Atmos surround sound movie that will grace you every evening, whether alone or in the company. Just don’t forget that the real world is always better, so don’t stay home too long.
Compatibility with other audio formats

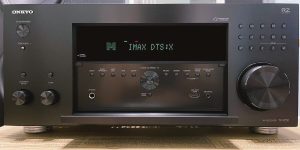
Dolby Atmos-enabled speakers can also work with other surround sound formats, such as DTS:X and Auro-3D. I find it helpful to understand each format’s pros and cons to determine which is best for your system and content preferences.
DTS:X: Similar to Dolby Atmos, DTS:X uses high-rise speakers to create a more immersive soundstage. It adapts well, allowing you to customize your speaker system to your liking. On the other hand, DTS:X content is less common compared to Dolby Atmos.
Auro-3D: This format also supports high-rise channels but requires a special speaker arrangement that may not be compatible with some existing Dolby Atmos setups. Auro-3D is known for its accurate and natural sound quality, but it has a more limited range of available content than Dolby Atmos and DTS:X.
In my opinion, content availability and compatibility with your current system should be considered when choosing a format. However, many modern AV receivers have the flexibility to switch between these formats, allowing you to enjoy them depending on the content being played.
Common mistakes to avoid

People make several common mistakes when installing or using Dolby Atmos-enabled speakers. So it remains to tell you about the most common examples and ways to avoid them to ensure maximum performance of your system:
Incorrect placement: It may not seem important to you, but improper speaker placement can significantly impact the immersive effect. Follow the recommendations for positioning the front and rear speakers by height, angling them toward the listening area for optimal performance.
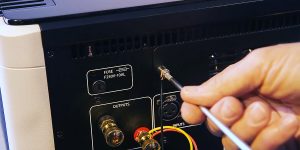
Incorrect connections: Double-check the speaker connections to ensure they are properly connected to the appropriate channels on your AV receiver or amplifier. Faulty speaker connections may result in poor sound quality or lack of pitch effect.
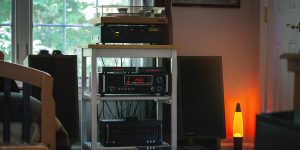
Inappropriate equipment: Using speakers with completely different wattages or frequency response ranges can result in an unbalanced soundscape. I have tested various systems many times, and I can assert that systems with well-matched speakers provide a more cohesive and immersive listening experience.
Conclusion
In conclusion, Dolby Atmos-enabled speakers can greatly enhance the home theater experience by creating a more immersive, three-dimensional soundscape. By choosing your speakers carefully, optimizing placement and calibration, and avoiding common mistakes, you can unlock the full potential of this technology and enjoy an immersive audio experience that surpasses even the VIP commercial theaters. So sit back, relax, and let Dolby Atmos take you to new heights of home entertainment!
![Best 2-Channel Receiver [Expert Reviews and Buying Guide]](https://hometheaterology.com/wp-content/uploads/2023/11/best-2-channel-receiver-stereo-300x150.jpg)