I’ve spent countless hours fiddling with home theater equipment to find the perfect combination for an immersive cinematic experience. Then, one day, while watching my favorite movie, I realized that something was missing — the visuals just weren’t up to par with the stunning audio that filled the room. That’s when it hit me — why not use a projector with a receiver to elevate the whole experience? After doing so, the transformation was astounding. The captivating visuals melded seamlessly with the rich, immersive audio. All in all, that created a watching experience that transported me right into the heart of the action.
So, in this article, I’ll share my expertise on how to seamlessly integrate these powerful devices to bring the magic of the big screen into your living room.
Why pair a receiver with a projector?
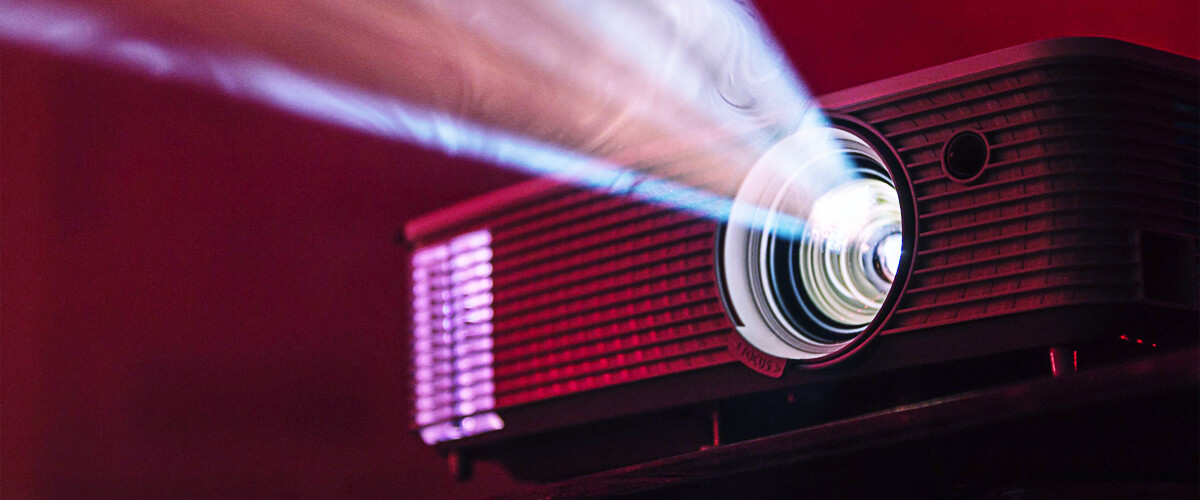
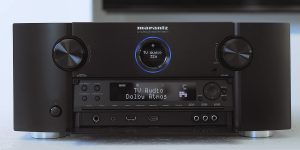
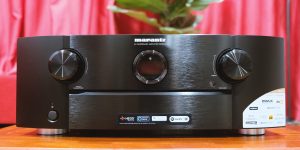
Using an AV receiver with a projector offers several significant benefits, namely:
- Receivers amplify and process audio signals, delivering crisp, clear, and immersive sound that elevates the viewing experience.
- Receivers allow you to connect various devices, like Blu-ray players, gaming consoles, and streaming devices, making it easy to switch between sources seamlessly.
- By integrating these gadgets, you reduce cable clutter and streamline your home theater setup.
- With a range of audio settings and adjustments, receivers let you fine-tune the sound to suit your preferences and room acoustics.
- Thanks to support for multichannel surround sound systems and built-in video processing, you can enjoy an immersive audio experience and enhance image quality.
What projector to use with a receiver
You can use several common types of projectors with a receiver to create an immersive home theater experience:
- DLP (Digital Light Processing) projectors are known for their excellent color accuracy, contrast, and fast response times. They make a good choice for fast-paced action movies and gaming.
- LCD (Liquid Crystal Display) projectors offer vibrant colors and good brightness levels. So, they will fit in well-lit rooms.
- LCoS (Liquid Crystal on Silicon) projectors combine the most promising features of DLP and LCD technologies, offering high-quality images with great contrast ratios and accurate colors.
- LED (Light Emitting Diode) projectors have a longer lamp life and lower maintenance costs. These projectors offer good color accuracy and can be used in a variety of lighting conditions.
- Laser projectors provide incredibly bright images with excellent color accuracy and a long lifespan. They can be more expensive, but they are a fantastic option for creating a high-quality home theater experience.
Connecting a projector to an AV receiver
What cables and connectors you will need
The cable and connector you choose for connecting an AV receiver to a projector can be a game-changer. Proper ones will reduce the risk of signal loss, interference, and degradation, ultimately enhancing the overall performance of your home theater system.
HDMI is the most popular cable choice. It supports both high-definition video and audio signals. Look for HDMI cables that are high-speed rated, ensuring they can handle 4K or higher resolutions.
VGA is an older analog video cable you can use for projectors that do not support HDMI. However, VGA does not transmit audio signals, so you’ll need a separate cable for audio.
Finally, there is DVI. It’s a digital video cable. Like VGA, DVI does not carry audio, so you’ll need an additional cable for sound.
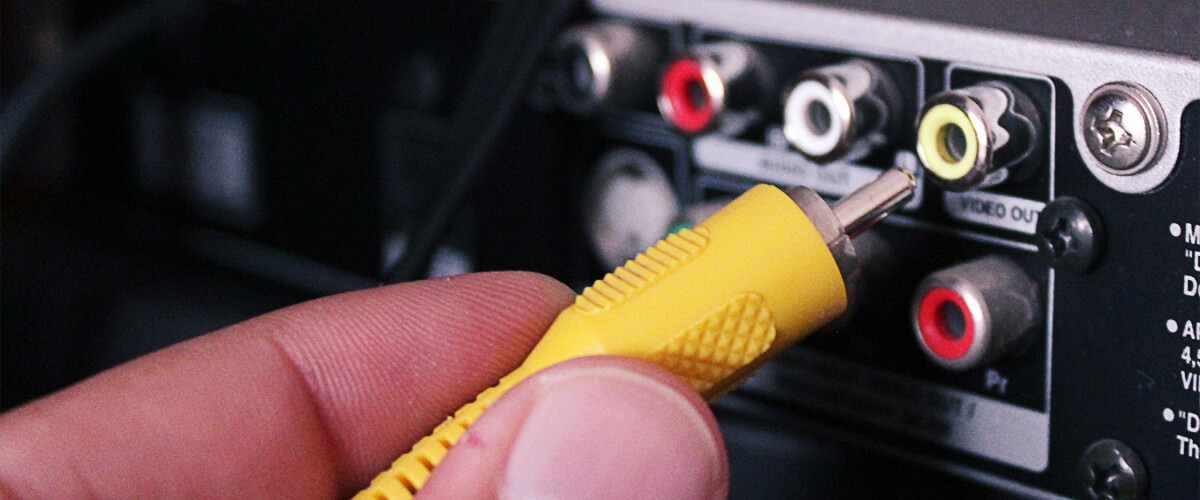
To transmit audio signals, you can use RCA, optical, and coaxial cables.
Input and output options available on projectors and AV receivers
To successfully connect these devices, identify the compatible input on the projector and the output on the receiver.
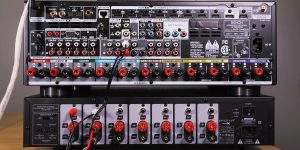
Projectors typically have multiple input options. For instance, HDMI, USB, VGA, or DVI. You can find VGA and DVI in older devices. Receivers, on their part, also offer a range of output options, with HDMI being the most common for video. Some may also have VGA or DVI outputs.
Ensure that your projector has a compatible input for your receiver’s output.
Tips for ensuring a stable and reliable connection between a receiver and projector
Invest in high-quality cables designed for the specific connection type you’re using. This will ensure optimal signal quality and reduce the chances of interference.
Also, remember that the longer the cable, the greater the chance of signal degradation. Therefore, keep cable lengths as short as possible to maintain the optimal image and sound quality.
Make sure all connections are firmly seated and secured. Loose connections can cause intermittent signal loss or poor image quality.
Organize and secure your cables to prevent them from becoming damaged or tangled. This not only improves the appearance of your setup but also reduces the risk of connection issues.
Configuring a projector and AV receiver for optimal picture quality
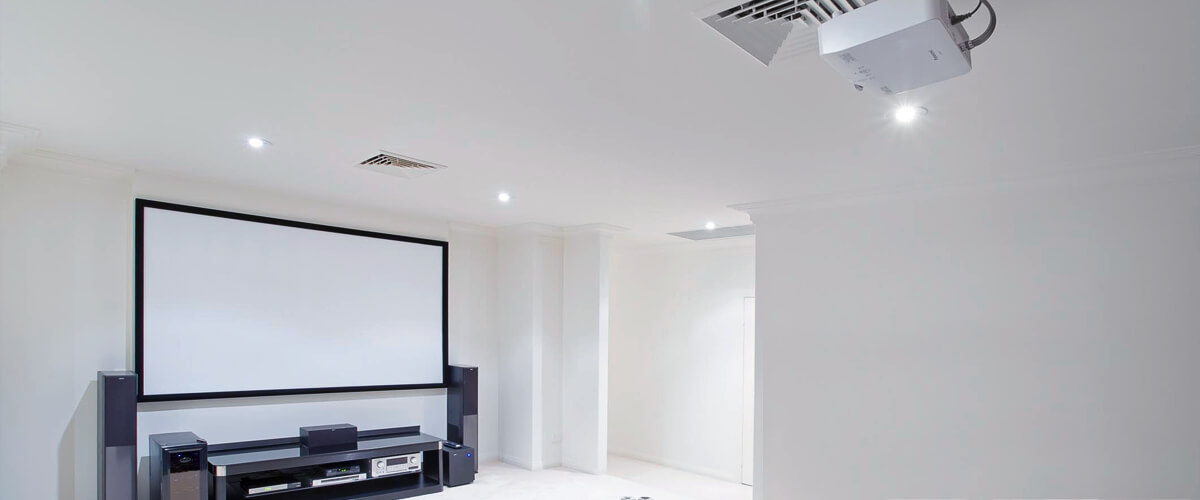
Most projectors and receivers offer a variety of picture modes and presets that optimize image quality based on the content you’re watching. Some common modes include:
- Cinema or Movie Mode — provides accurate colors and a balanced contrast ratio, making it ideal for watching movies.
- Dynamic or Vivid Mode — boosts brightness and color saturation, resulting in eye-catching visuals. It may be suitable for well-lit rooms or presentations.
- Game Mode — reduces input lag and enhances motion handling, so it works great for gaming.
- Custom Mode — lets you create your own picture settings, tailoring the image quality to your preferences.
Along with picking the preferable mode, you should also consider adjusting the following settings to achieve the finest picture quality:
- Adjust the brightness level to match your room’s lighting conditions.
- Tweak the contrast ratio to enhance the depth and detail of the image.
- Regulate the color temperature to achieve a balanced and natural-looking color palette. Most projectors offer presets like Warm, Cool, or Neutral.
- Fine-tune the sharpness setting to achieve a crisp and detailed image without introducing unwanted artifacts or noise.
Finally, with advanced projector features, you can significantly improve image alignment and clarity:
- Keystone correction adjusts the image’s shape to compensate for any distortion caused by the projector being positioned at an angle to the screen. Use it sparingly, as excessive keystone correction can reduce image quality.
- Lens shift allows you to physically move the projector’s lens to adjust the image’s position on the screen without distorting its shape. This feature provides more flexibility in projector placement and helps achieve precise image alignment.
Configuring sound in a projector and AV receiver setup
Projectors and receivers support various audio codecs and formats to comply with a wide range of content. Some common audio formats that I frequently encounter include:
- PCM (Pulse Code Modulation): I really appreciate this lossless, uncompressed audio format, as it consistently delivers high-quality sound.
- Dolby Digital: This widely used, compressed multichannel audio format is a staple in the industry, providing surround sound for countless setups.
- DTS (Digital Theater Systems): Another popular choice, DTS is a compressed multichannel audio format that holds its own against Dolby Digital.
- Dolby Atmos and DTS:X: These advanced object-based audio formats take the sound experience to a whole new level, offering a truly immersive, three-dimensional audio sensation.
But I insist that you do not underestimate the need to fine-tune your receiver’s audio settings in the projector and AV receiver setup for pleasing sound quality.
For this, use your receiver’s built-in calibration tools or a decibel meter to adjust speaker levels and distances. This should ensure balanced sound across all channels. Also, set appropriate crossover frequencies for your speakers, determining the point at which low-frequency sounds are directed to the subwoofer. Finally, adjust the equalizer settings to fine-tune the sound signature based on your preferences and room acoustics.

![Best 2-Channel Receiver [Expert Reviews and Buying Guide]](https://hometheaterology.com/wp-content/uploads/2023/11/best-2-channel-receiver-stereo-300x150.jpg)
